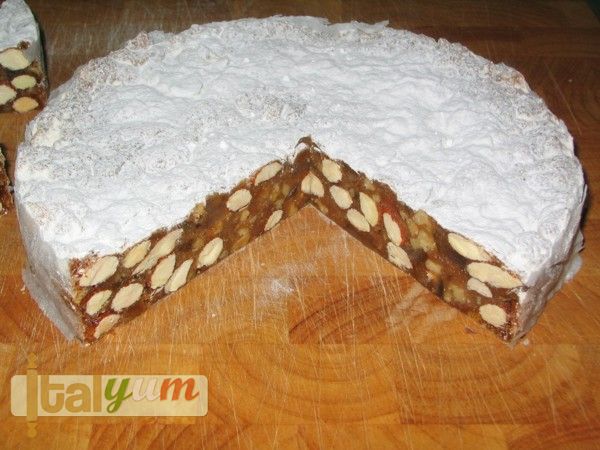
Panforte Margherita
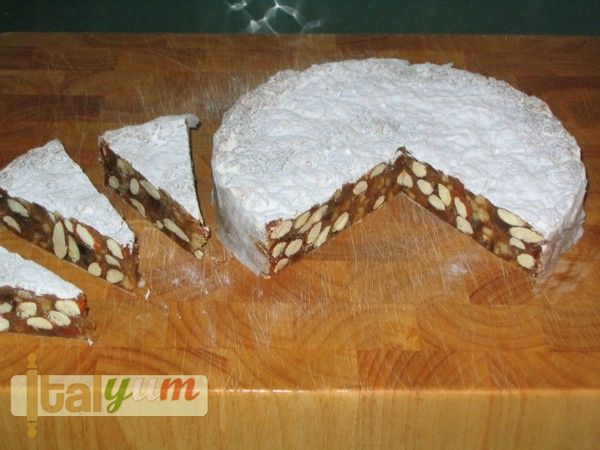
Panforte is a traditional Christmas celebration cake from Siena, a Tuscan city probably known to most for its famous horse race “il palio di Siena”. It’s a hard spicy cake, packed with nuts and candied fruit whose name “panforte” means strong bread. This cake has its origins in the 13th century Tuscany and at that time it was more like a heavy compact bread containing dried fruit and various spices, which in medieval times was very expensive to buy, making the panforte available mostly to the wealthy.There are umteen versions of panforte (every pastry shop or baker in Siena has its own recipe) and the one I am going to show you is the Margherita version (tipo Margherita). Margherita was the name of the Queen of Italy (Margherita di Savoia 1851-1926); wherever she went there was always someone naming a food item after her (Pizza Margherita in Naples is a clear example). The Panforte Margherita is lighter than its medieval predecessors and can be prepared using mixed citrus peel instead of the most specific “Candito nero di Ponone” (black candied melon, a requirement for the preparation of the medieval version of panforte). After the first bite, two things come to my mind: ginger biscuits and chai tea! You can have it with tea, coffee or even vin santo, which is the Tuscan name for dessert wine. I live in Scotland and sometimes in the evening I have a little slice of it with a dram of good whisky!
Equip your kitchen – Available at Amazon now
Clicking on equipment pictures takes you to Amazon where you can buy the items. We get a small revenue share of anything you buy which helps keep the site running.
Ingredients
- 300 grams (11 oz) Unrefined granulated sugar
- 100 grams (4 oz) Acacia honey
- 150 grams (5 oz) Plain flour
- 250 grams (9 oz) Almonds (unpeeled)
- 100 grams (4 oz) Walnuts
- 300 grams (11 oz) Mixed citrus peel
- 4 grams (a heaped tsp) Cinnamon
- 4 grams ( a heaped tsp) Ginger
- 2 grams Coriander (a level tsp)
- 0.5 grams Nutmeg (1/4 tsp)
- 1 Vanilla bean (use the seeds)
- A few sheets of rice paper to line the cake tin
- Some extra flour for dusting before the baking
- Vanilla icing sugar for dusting before serving
Instructions
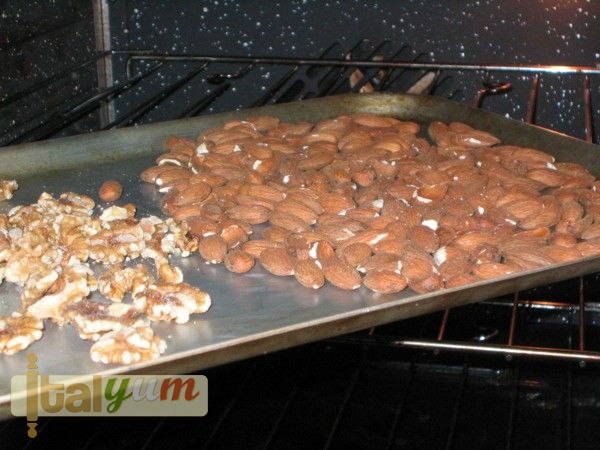
- Pre-heat the oven to 150°C (300°F). While you are doing so, put the almonds and the walnuts into the oven for about 10 minutes. Do not mix the nuts as they are treated separately.
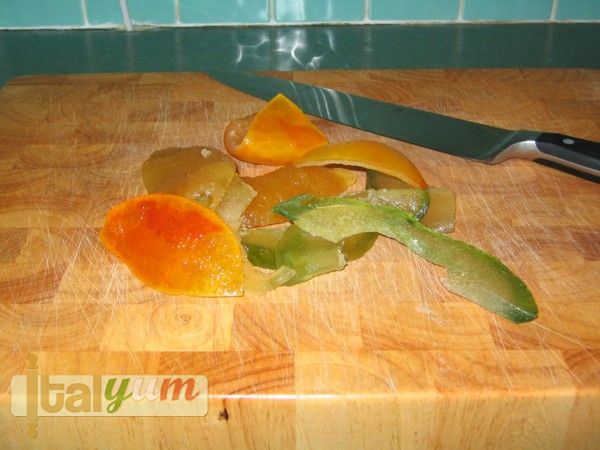
- Place the citrus peel onto a chopping board.
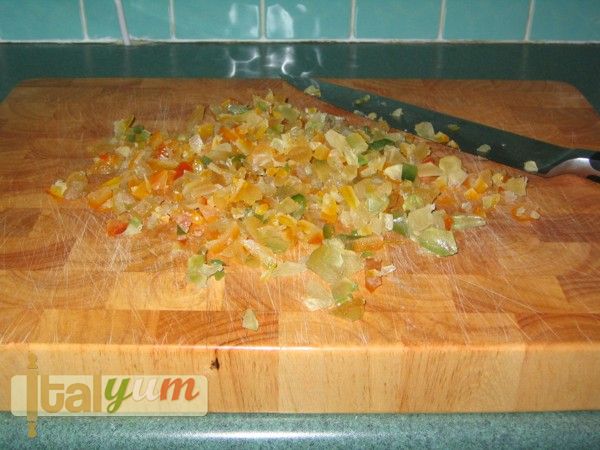
- Roughly chop the peel into irregular bits; anything with the size of 5 to 8 mm (3/16" to 1/3") will do the job. You can also cut some small strips, i.e. 5×5 mm (3/16"x3/16") and 15 mm (5/8") long if you want. Once you have finished, put the peel into a large glass bowl and set aside for few minutes.
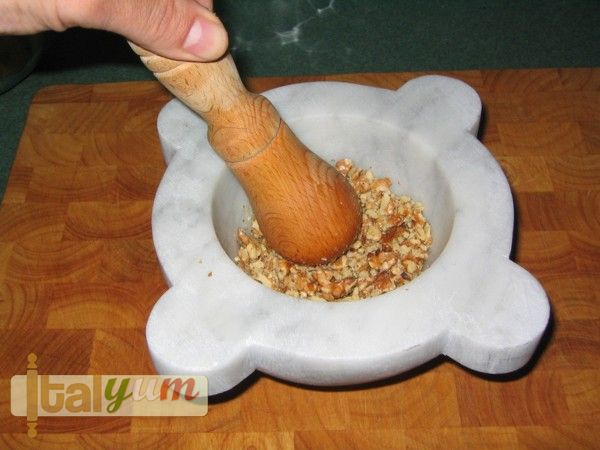
- Once the walnuts are taken out of the oven (do you remember? they have been put in the oven for about 10 minutes), roughly crash the walnuts (do not reduce to powder), just to quarter their size.
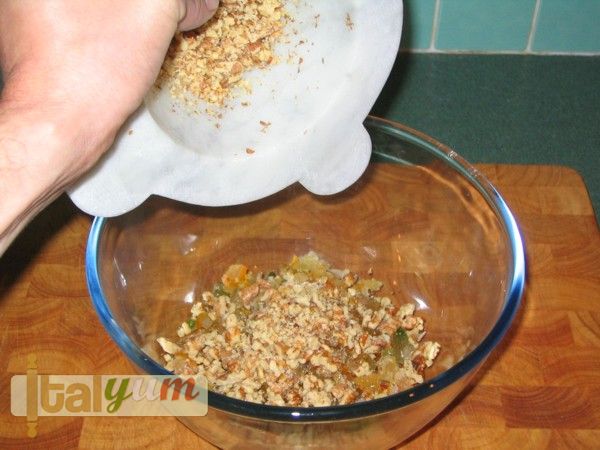
- Add the crashed walnuts to the peel.
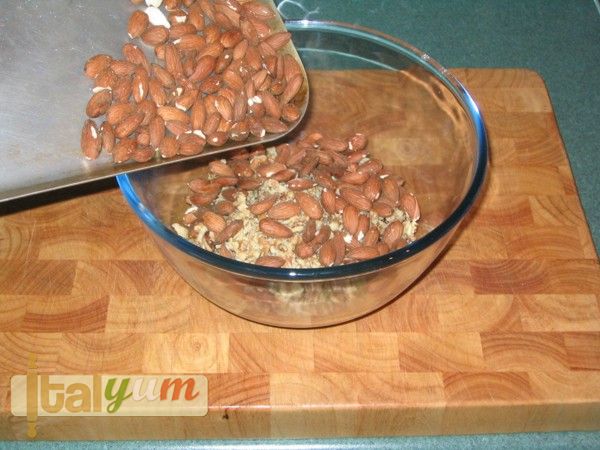
- Add the almonds to the peel and and set aside.
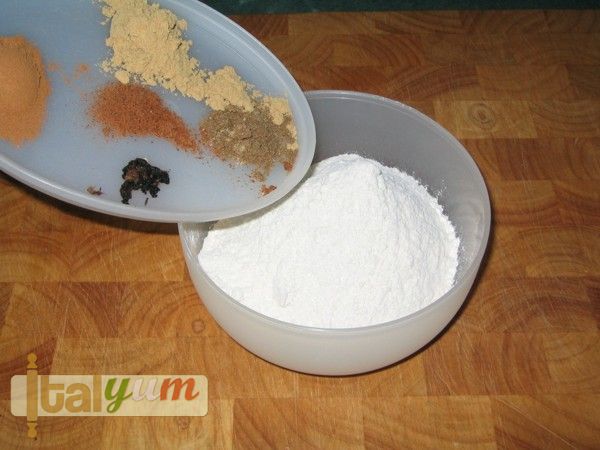
- Add all the spices to the flour, including the vanilla seeds you should have removed from the vanilla bean. Give it a good stir so that all the spices are evenly dispersed through the flour. Set aside.
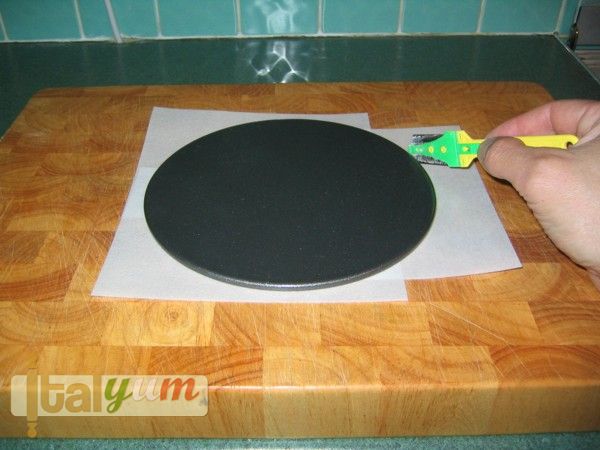
- Cut the rice paper sheets to line the bottom and side of your cake tin. I have used a 20 cm (8") diameter cake tin, 4 cm (1 1/2") deep.
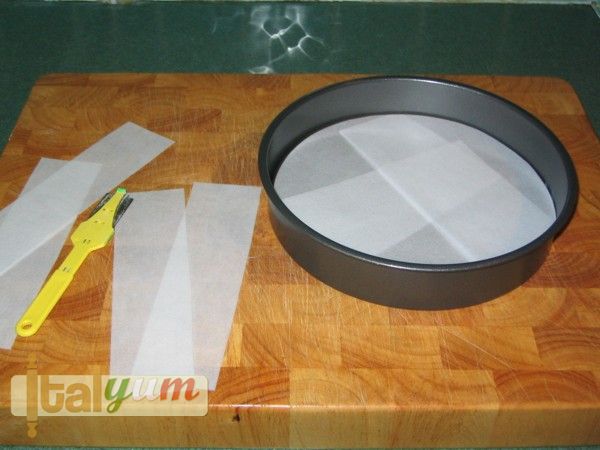
- I have done the bottom and now I am lining the tin side.
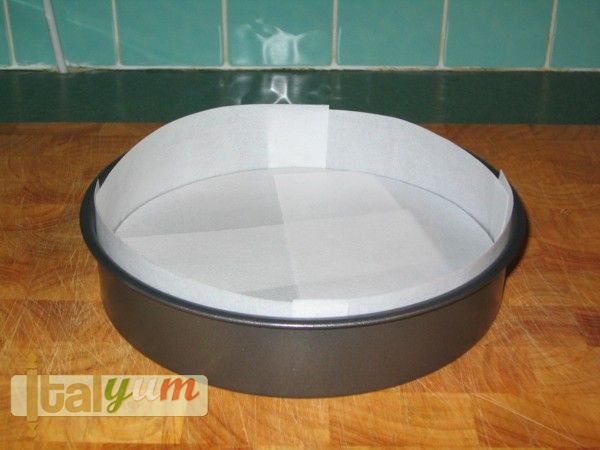
- Job done!
- Put the sugar and the honey into a small heavy bottom pan (I have used a sugar pan). Melt everything on a low heat.
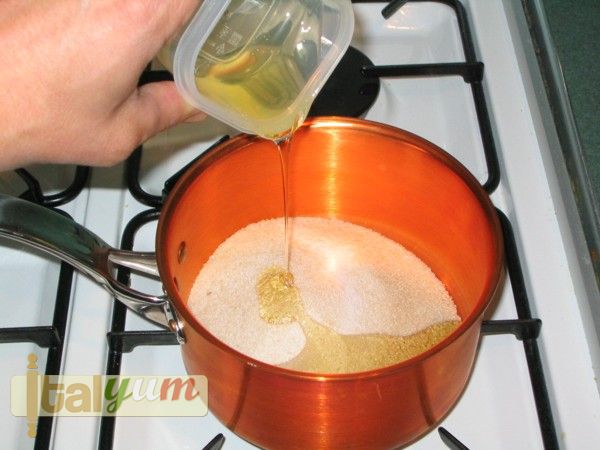
- You may need to add a tablespoon of water to help through the process.
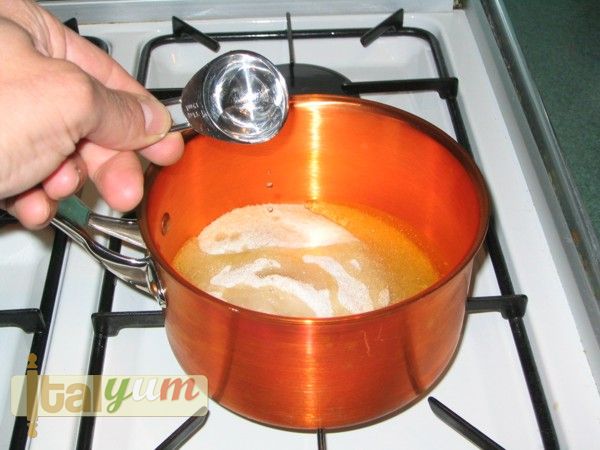
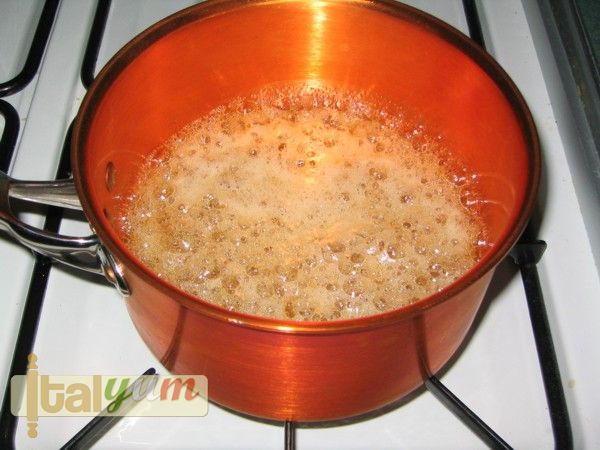
- When the sugar is dissolved and the contents start to bubble (the colour should be pale yellow), we are ready for the next stage.
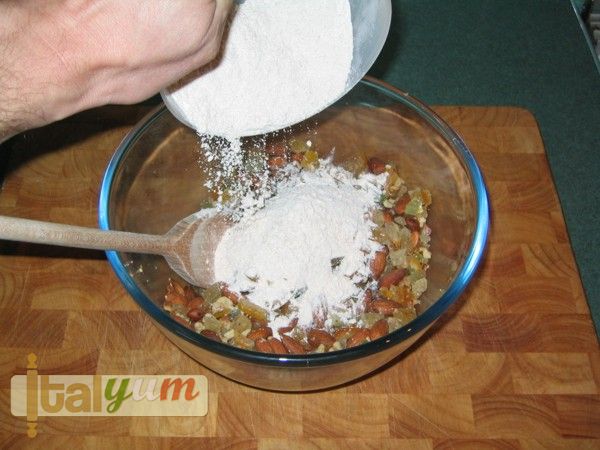
- Add the flour with the spices into the glass bowl.
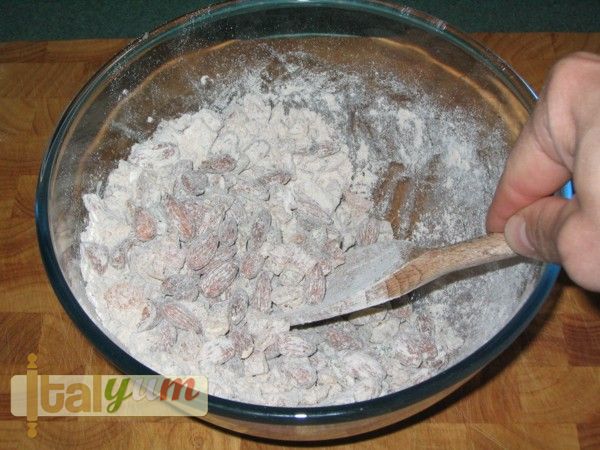
- Give the whole thing a good mix. using a wooden spoon. The flour and the spices should evenly coat the almonds/walnut and peel.
- Pour the melted sugar/honey mix into the glass bowl and very quickly start to mix everything together.
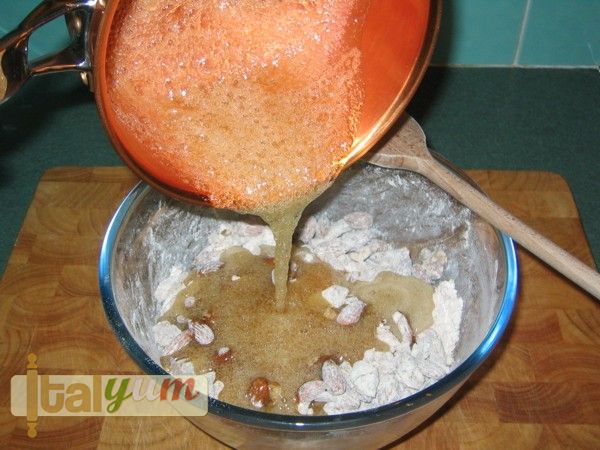
- The quicker the better because the more you wait and the harder the mix will be to stir. It should really take no more than a minute.
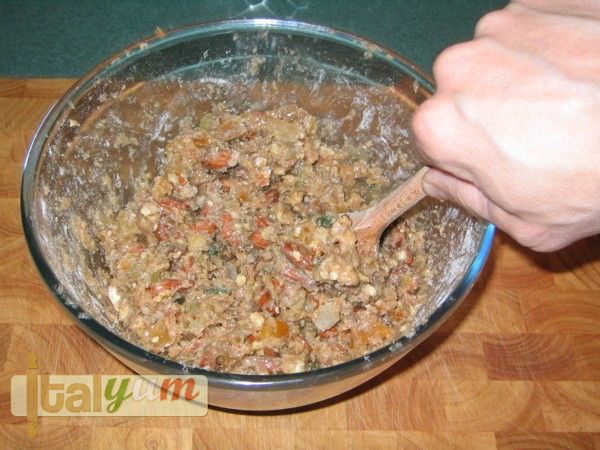
- Spread the mix into the cake tin, trying to cover the whole bottom of the tin. Start with the wooden spoon and then use a metal spoon to level the mix.
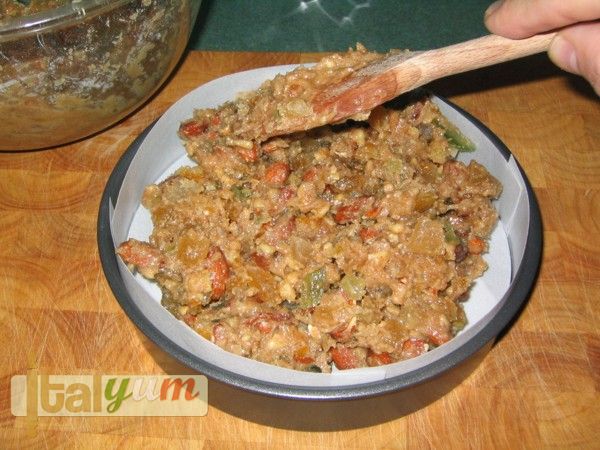
- Once the mix has been levelled, I press down to compact the mix using the bottom of a glass. This is to be sure we are not leaving any empty pockets.
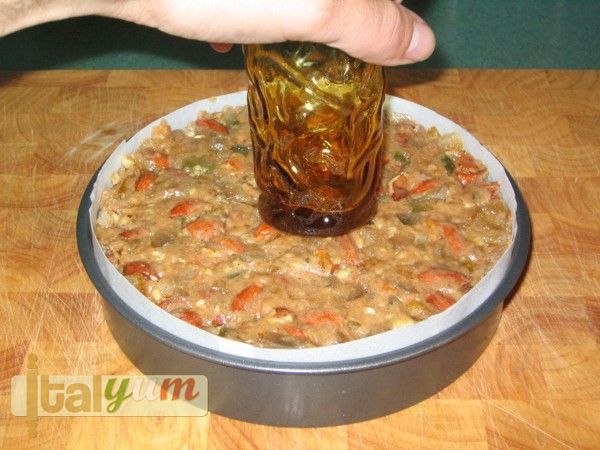
- Now, sprinkle a generous layer of flour over the surface.
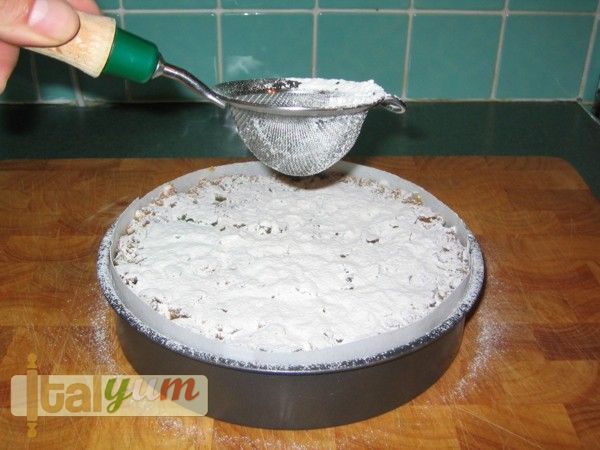
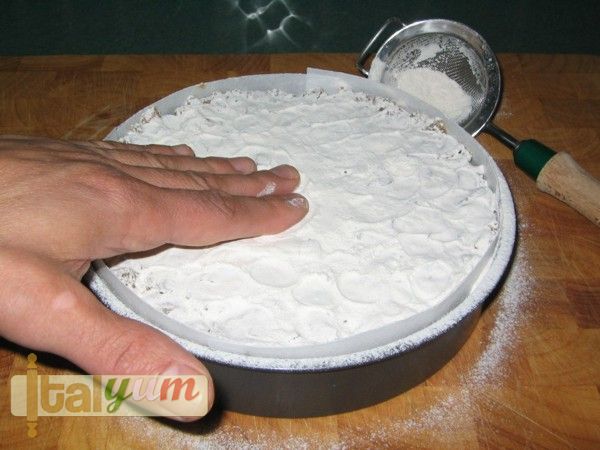
- With the flour it will be easier to pat down and compress the cake a bit more.
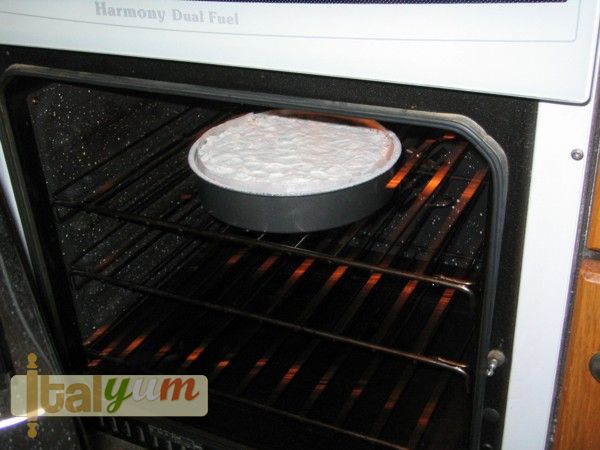
- Place the cake tin into the oven and bake for 35 minuets at 150°C (300°F). My oven is fan assisted.
- After 35 minutes baking, remove the cake tin from the oven.
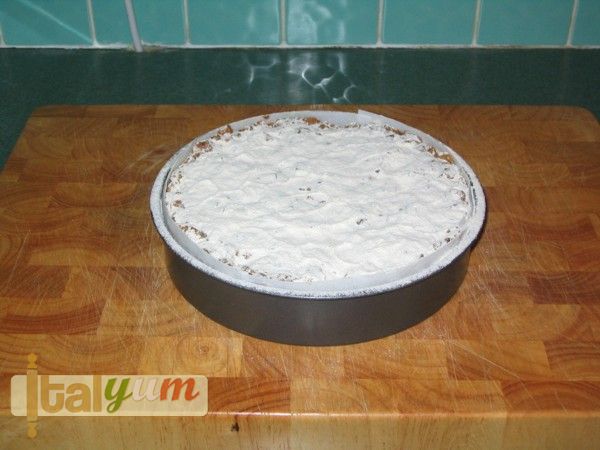
- With a brush, get rid of the flour on the surface. Let the tin cool for a few minutes and then remove the cake from the tin.
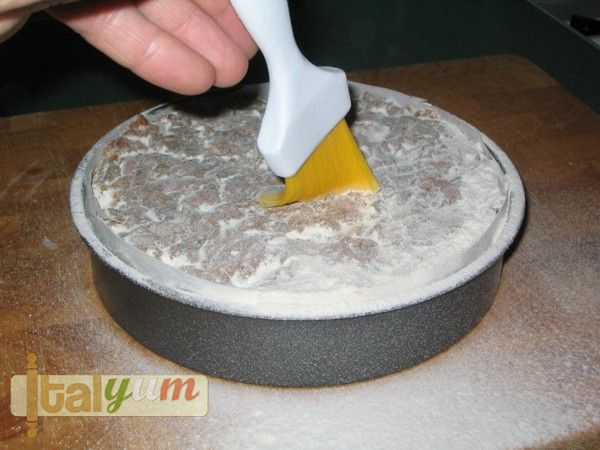
- The cake will be warm and soft, so don’t poke it with your fingers and handle it with care.
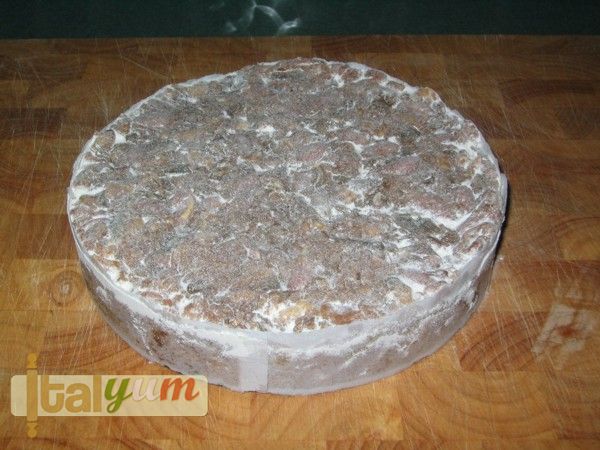
- Put the cake onto a wire rack and let it cool down/harden in a dry/cool place, with the top loosely covered with foil, until the next day. If you are in a hurry, like me, once the cake has cooled down a bit, place it (on top of the wire rack) in the fridge for at least 4 hours; it will harden perfectly.
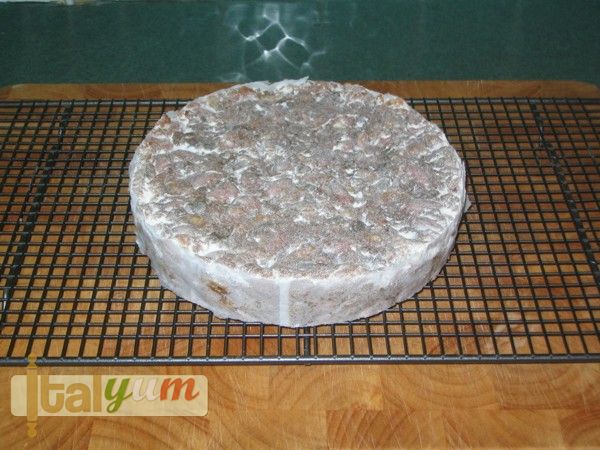
- However, the flavours will develop further if you wait for one day before eating it. I feel a bit hypocrite to give this advice because my cake only lasted few hours!
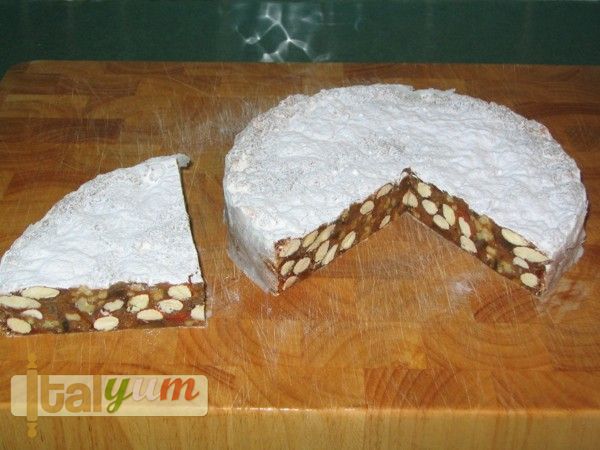
- Commercial panforte can last for months but who knows what chemicals they put inside! This is home made with the best ingredients I could find and despite in Italy people talk about keeping it around for one month, I would say that one or two weeks (if it lasts that long!) is a reasonable shelf life if all food hygiene requirements are fully respected.
Nutrition
Calories: 120kcal
Tried this recipe?Let us know how it was!


Dear Frederico,
So tasty! Not too hard to make either. Mine stuck to the bottom of the pan, but was able to scoop it up and smash it back onto the bottom. Next time I will use a double layer of rice paper.
I couldn’t find a glass with a flat bottom so I dusted the top of the cake with flour first and took another cake pan (square pan) and nested on top of my cake and pressed it down. Worked out just fine.
Thank you so much for this recipe! It will become one of my Christmas foods that I give to family and friends.
Ever Grateful,
Betty Jo, from Windsor California
Where can I find the citrus peel. I haven’t advanced enough to make my own